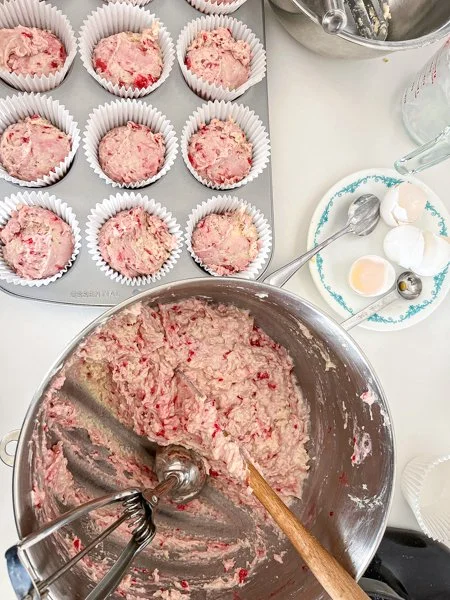
Red Raspberry Muffins
These muffins have a fresh raspberry flavor and the aura of your favorite bakery


Bacon Wrapped Pork Loin
Wrap strips of bacon around a pork tenderloin and oven roast to perfection

Honey Mustard Chicken & Potato Skillet
Creamy dijon sauce over roast chicken & potatoes in a single skillet


Cinnamon Swirl Bread
The technique of creating a twist results in a very cohesive loaf with slices that stay intact

Pita Bread
Step-by-step instructions on how to make fresh, deliciously tender, perfectly-pocketed pitas


HOW TO: Skillet Rib Steak
All the deliciousness natural to a rib steak, enhanced by a dash of garlic and seasoned salt


Spinach Stuffed Chicken
Tender chicken wrapped around a nutmeg-infused creamy spinach filling

Sausage Patty Sandwich
Creamy egg scramble, crisp sausage patty and delicious bread come together for this tasty breakfast sandwich