


Sweet Potato Biscuits
Use up leftover sweet potatoes or bake some fresh to create these delicious, tender biscuits

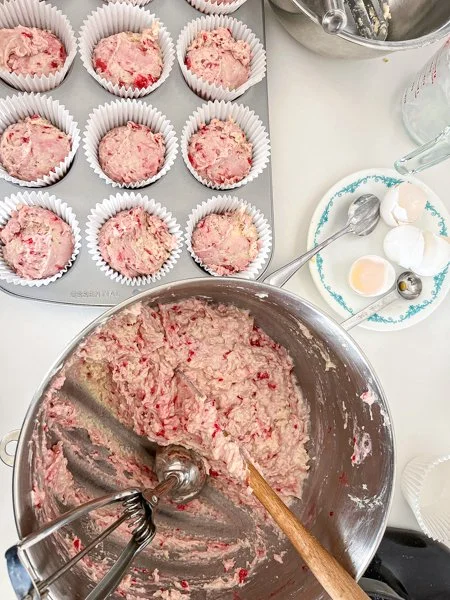
Red Raspberry Muffins
These muffins have a fresh raspberry flavor and the aura of your favorite bakery


Cinnamon Swirl Bread
The technique of creating a twist results in a very cohesive loaf with slices that stay intact

Pita Bread
Step-by-step instructions on how to make fresh, deliciously tender, perfectly-pocketed pitas

Sausage Patty Sandwich
Creamy egg scramble, crisp sausage patty and delicious bread come together for this tasty breakfast sandwich


HOW TO: Doughnuts
Learn how to make one of the most beloved Saunders family foods: Doughnuts.


Coconut Rhubarb Quick Bread
The tartness of fresh-picked rhubarb is perfectly offset by the sweetened coconut in this quick bread recipe.
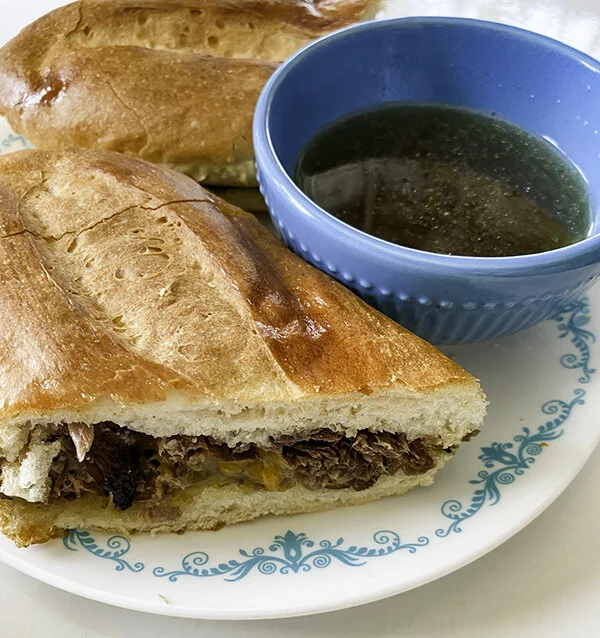
HOW TO: French Dip
Have roast beef leftovers? Meet your new favorite meal. Use the broth that is created when slow-cooking a beef roast for an unbeatable flavor.

HOW TO: Deep-fried Scones
This deep-fried bread is best served when topped with a generous serving of honey butter.

Best Sweet Corn Bread
Sweet Corn Bread that can be made in a cast iron skillet, or a metal or glass pan.