

Sweet Potato Biscuits
Use up leftover sweet potatoes or bake some fresh to create these delicious, tender biscuits

HOW TO: Par-cooked Shredded Potatoes
Looking for a substitute for frozen shredded potatoes? This is it.
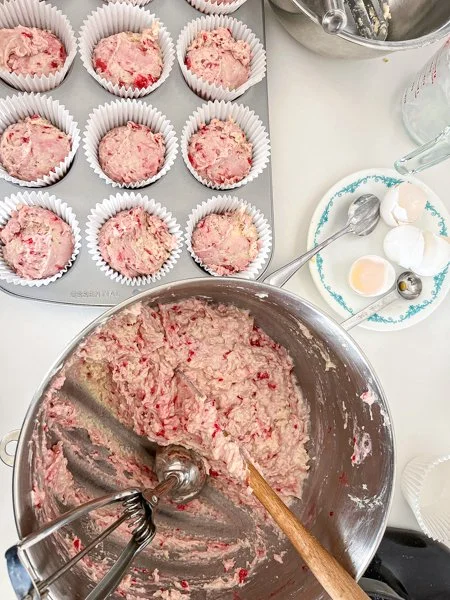
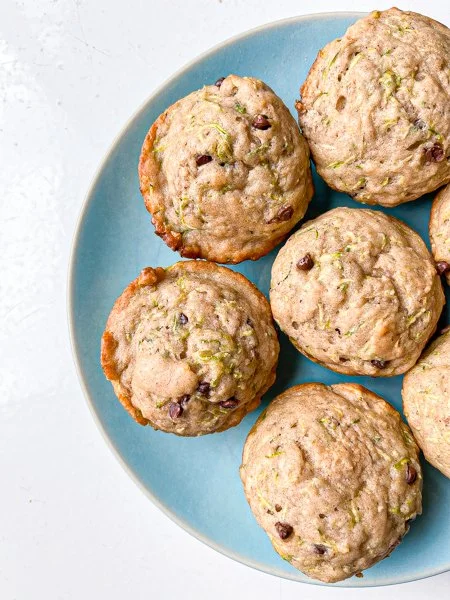
Red Raspberry Muffins
These muffins have a fresh raspberry flavor and the aura of your favorite bakery


Cinnamon Swirl Bread
The technique of creating a twist results in a very cohesive loaf with slices that stay intact

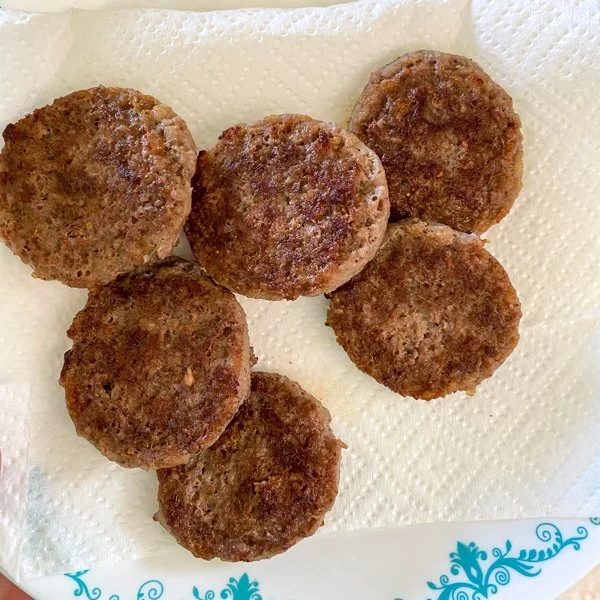
Sausage Patty Sandwich
Creamy egg scramble, crisp sausage patty and delicious bread come together for this tasty breakfast sandwich

Baked Rice Pudding
A perfect way to use up leftover rice - make this custardy rice pudding as a snack or dessert.


HOW TO: Doughnuts
Learn how to make one of the most beloved Saunders family foods: Doughnuts.


Blueberry Bundt Cake for High Elevation
Serve this delicious bundt cake for breakfast or dessert.