


Shredded Beef Enchiladas
These enchiladas are shrouded in a rich, beefy sauce and bursting with shredded beef and melty cheese

Sweet Potato Biscuits
Use up leftover sweet potatoes or bake some fresh to create these delicious, tender biscuits

Beef and Broccoli
Fresh steamed broccoli complements tender steak strips drenched in flavorful gravy.


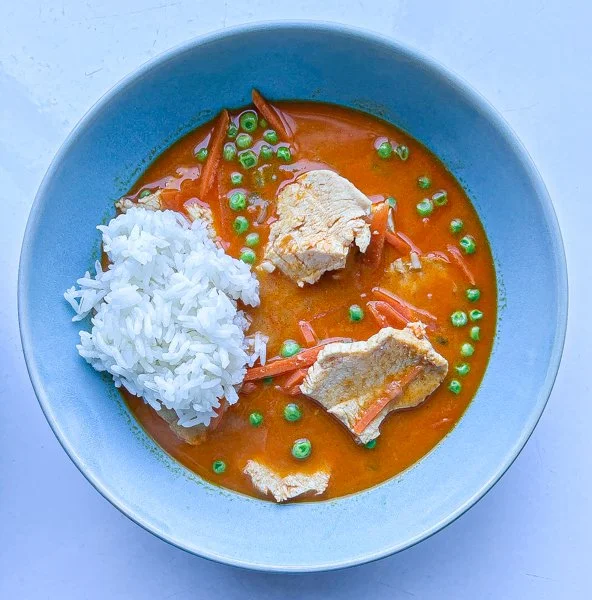
Panang Curry
Panang Curry is a sweet red Thai curry, a rich broth enhanced with peanut and coconut flavors

Garlic Cilantro Hummus
A delicious kick, enhanced by the refreshing element of fresh cilantro

HOW TO: Par-cooked Shredded Potatoes
Looking for a substitute for frozen shredded potatoes? This is it.


HOW TO: Slow Cooker Baked Potatoes
This is truly a one ingredient recipe. No water added. Only potatoes.