
Beef Enchilada Skillet
This recipe is all about getting dinner on the table fast. Pair with Sweet Corn Bread and/or Instant Pot Spanish Rice for a filling dinner in less than half an hour.

Instant Pot Spanish Rice
A delicious and basic Spanish rice to accent any meal. Especially great when paired with Tacos, Enchiladas, or Brenda’s Beef Enchilada Skillet.

Best Sweet Corn Bread
Sweet Corn Bread that can be made in a cast iron skillet, or a metal or glass pan.

Quick Homemade Hamburger Buns
These homemade hamburger (or hotdog) buns will be ready to eat in under one hour.

Farm-style California Burger
This cheeseburger was a staple in Brenda and Chelsea’s diet during marathon training.

HOW TO: Hamburger Patties
Learn how to make and shape hamburger patties, and how to cook them to perfection.

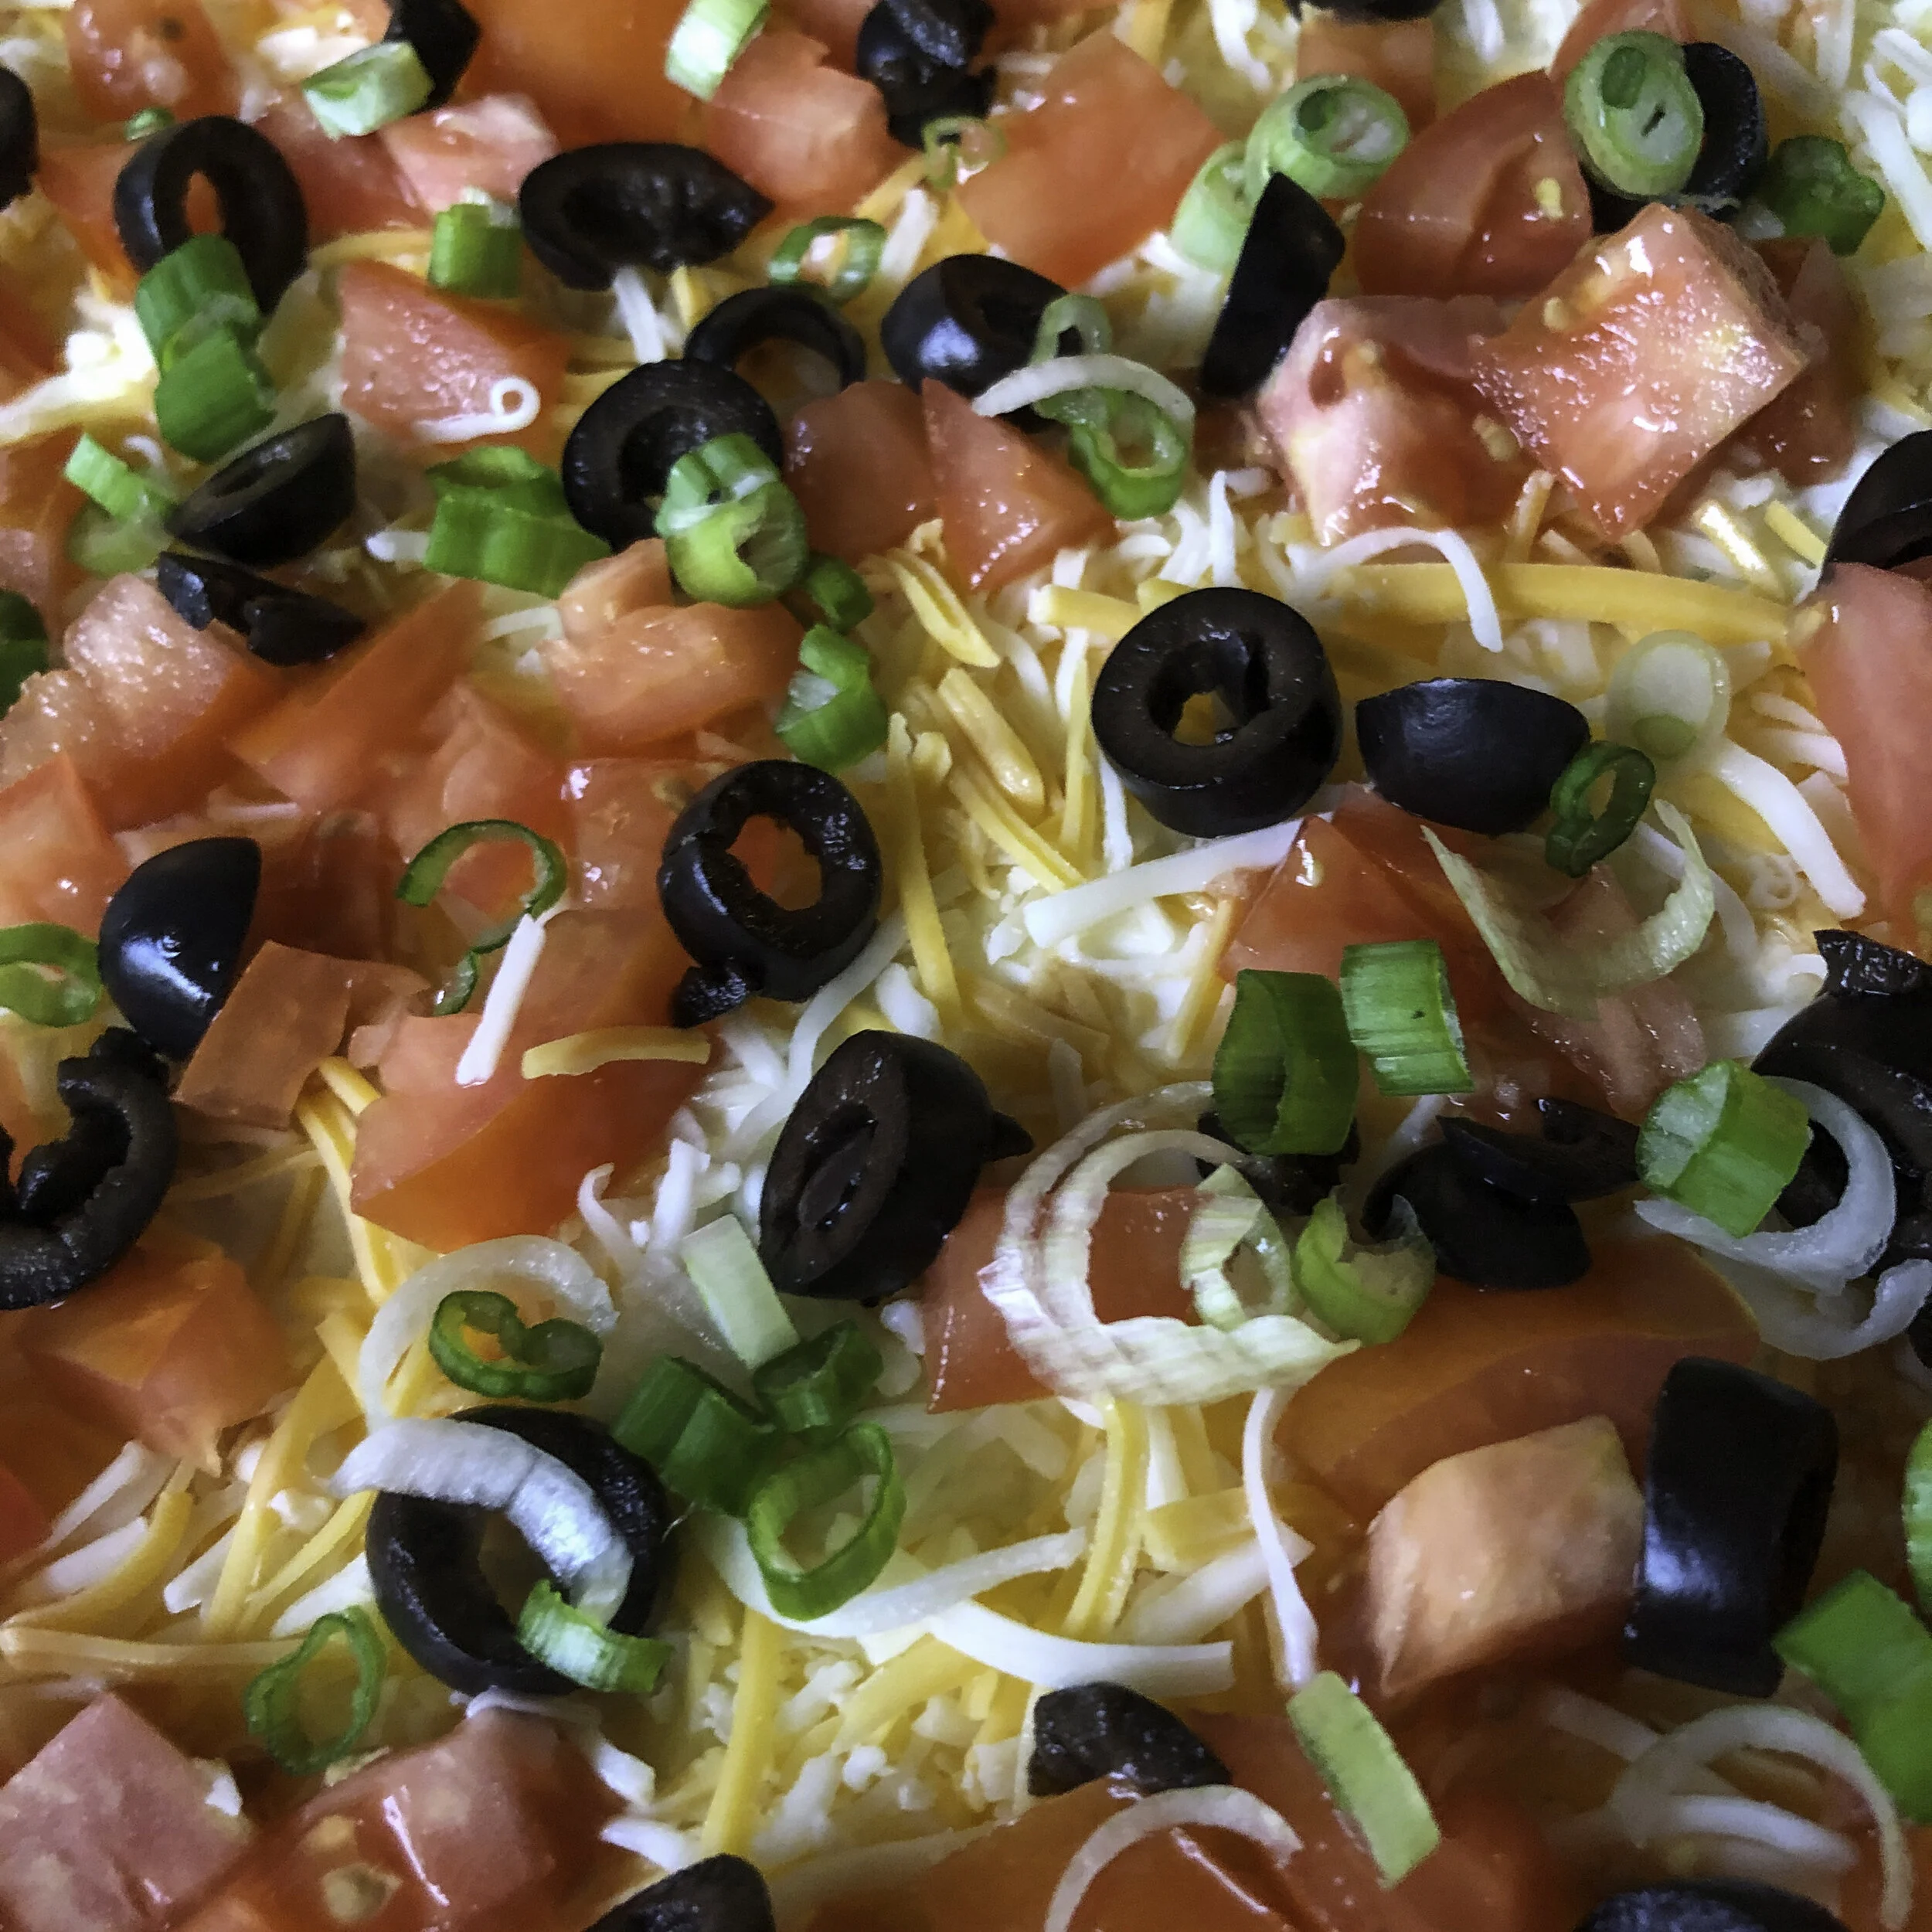
Seven Layer Dip
Seven Layer Dip is a perfect contribution to any party, refrigerates well and doubles as a fairly well-balanced snack or even meal.


Avocado Smoothie
While roommates in NYC, Chelsea introduced this insanely creamy & delicious smoothie to Brenda.

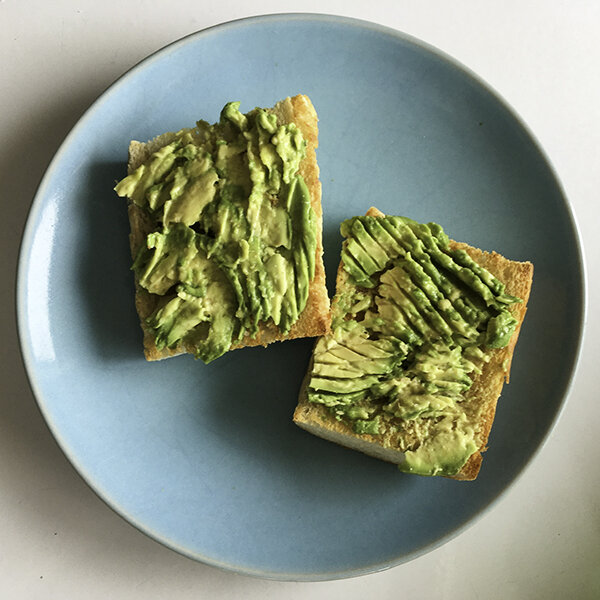
HOW TO: Select a Ripe Avocado
Please stop squeezing avocados, simply brush or flick the stem instead. We’ll show you how!

Buffalo Chicken Quesadillas
These quesadillas can be prepared completely from scratch OR sub in Mission Flour Tortillas and Frank’s Buffalo Sauce if you’re in a hurry.

Homemade Buffalo Sauce
Learn how to make a spicy, simple buffalo sauce that pairs perfectly with chicken.

Crockpot Shredded Chicken
This is the best way to make it and, bonus, it’s also the easiest.


Hummingbird Bundt Cake
Do you have a few extra bananas past their prime? The deep yellow speckled with black dots on a banana peel indicates perfection for this Hummingbird Cake.


HOW TO: Cook & Peel Boiled Eggs
Learn how to use a spoon to easily peel soft or hard boiled eggs.