

HOW TO: Skillet Rib Steak
All the deliciousness natural to a rib steak, enhanced by a dash of garlic and seasoned salt


Spinach Stuffed Chicken
Tender chicken wrapped around a nutmeg-infused creamy spinach filling

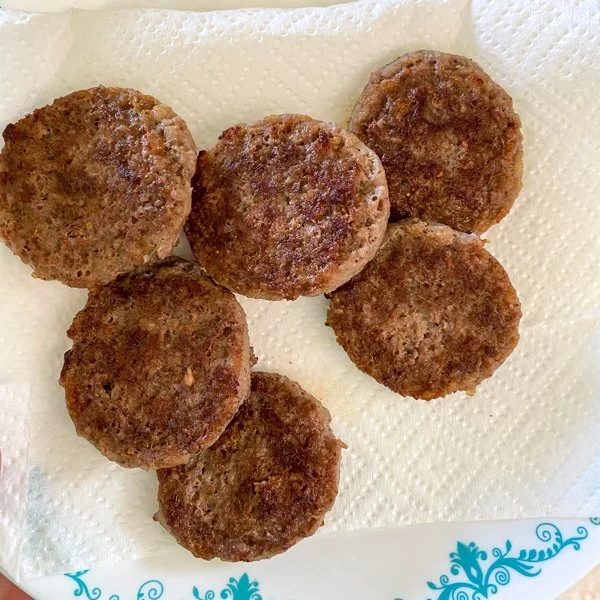
Sausage Patty Sandwich
Creamy egg scramble, crisp sausage patty and delicious bread come together for this tasty breakfast sandwich


Bacon & Blue Cheese Meatloaf
The tangy saltiness of blue cheese is magnified in this meatloaf.


Corned Beef & Cabbage
Start brining the beef early to enhance the flavor of this corned beef

Chicken Cordon Bleu
Ham & Swiss wrapped in a tenderized chicken breast then coated in Ritz crackers

