


Instant Pot Rice Pilaf
This is a delicious rice dish, great for accompanying Parmesan Chicken, Chicken Cordon Bleu, or any chicken dinner.


Instant Pot Spanish Rice
A delicious and basic Spanish rice to accent any meal. Especially great when paired with Tacos, Enchiladas, or Brenda’s Beef Enchilada Skillet.

Best Sweet Corn Bread
Sweet Corn Bread that can be made in a cast iron skillet, or a metal or glass pan.
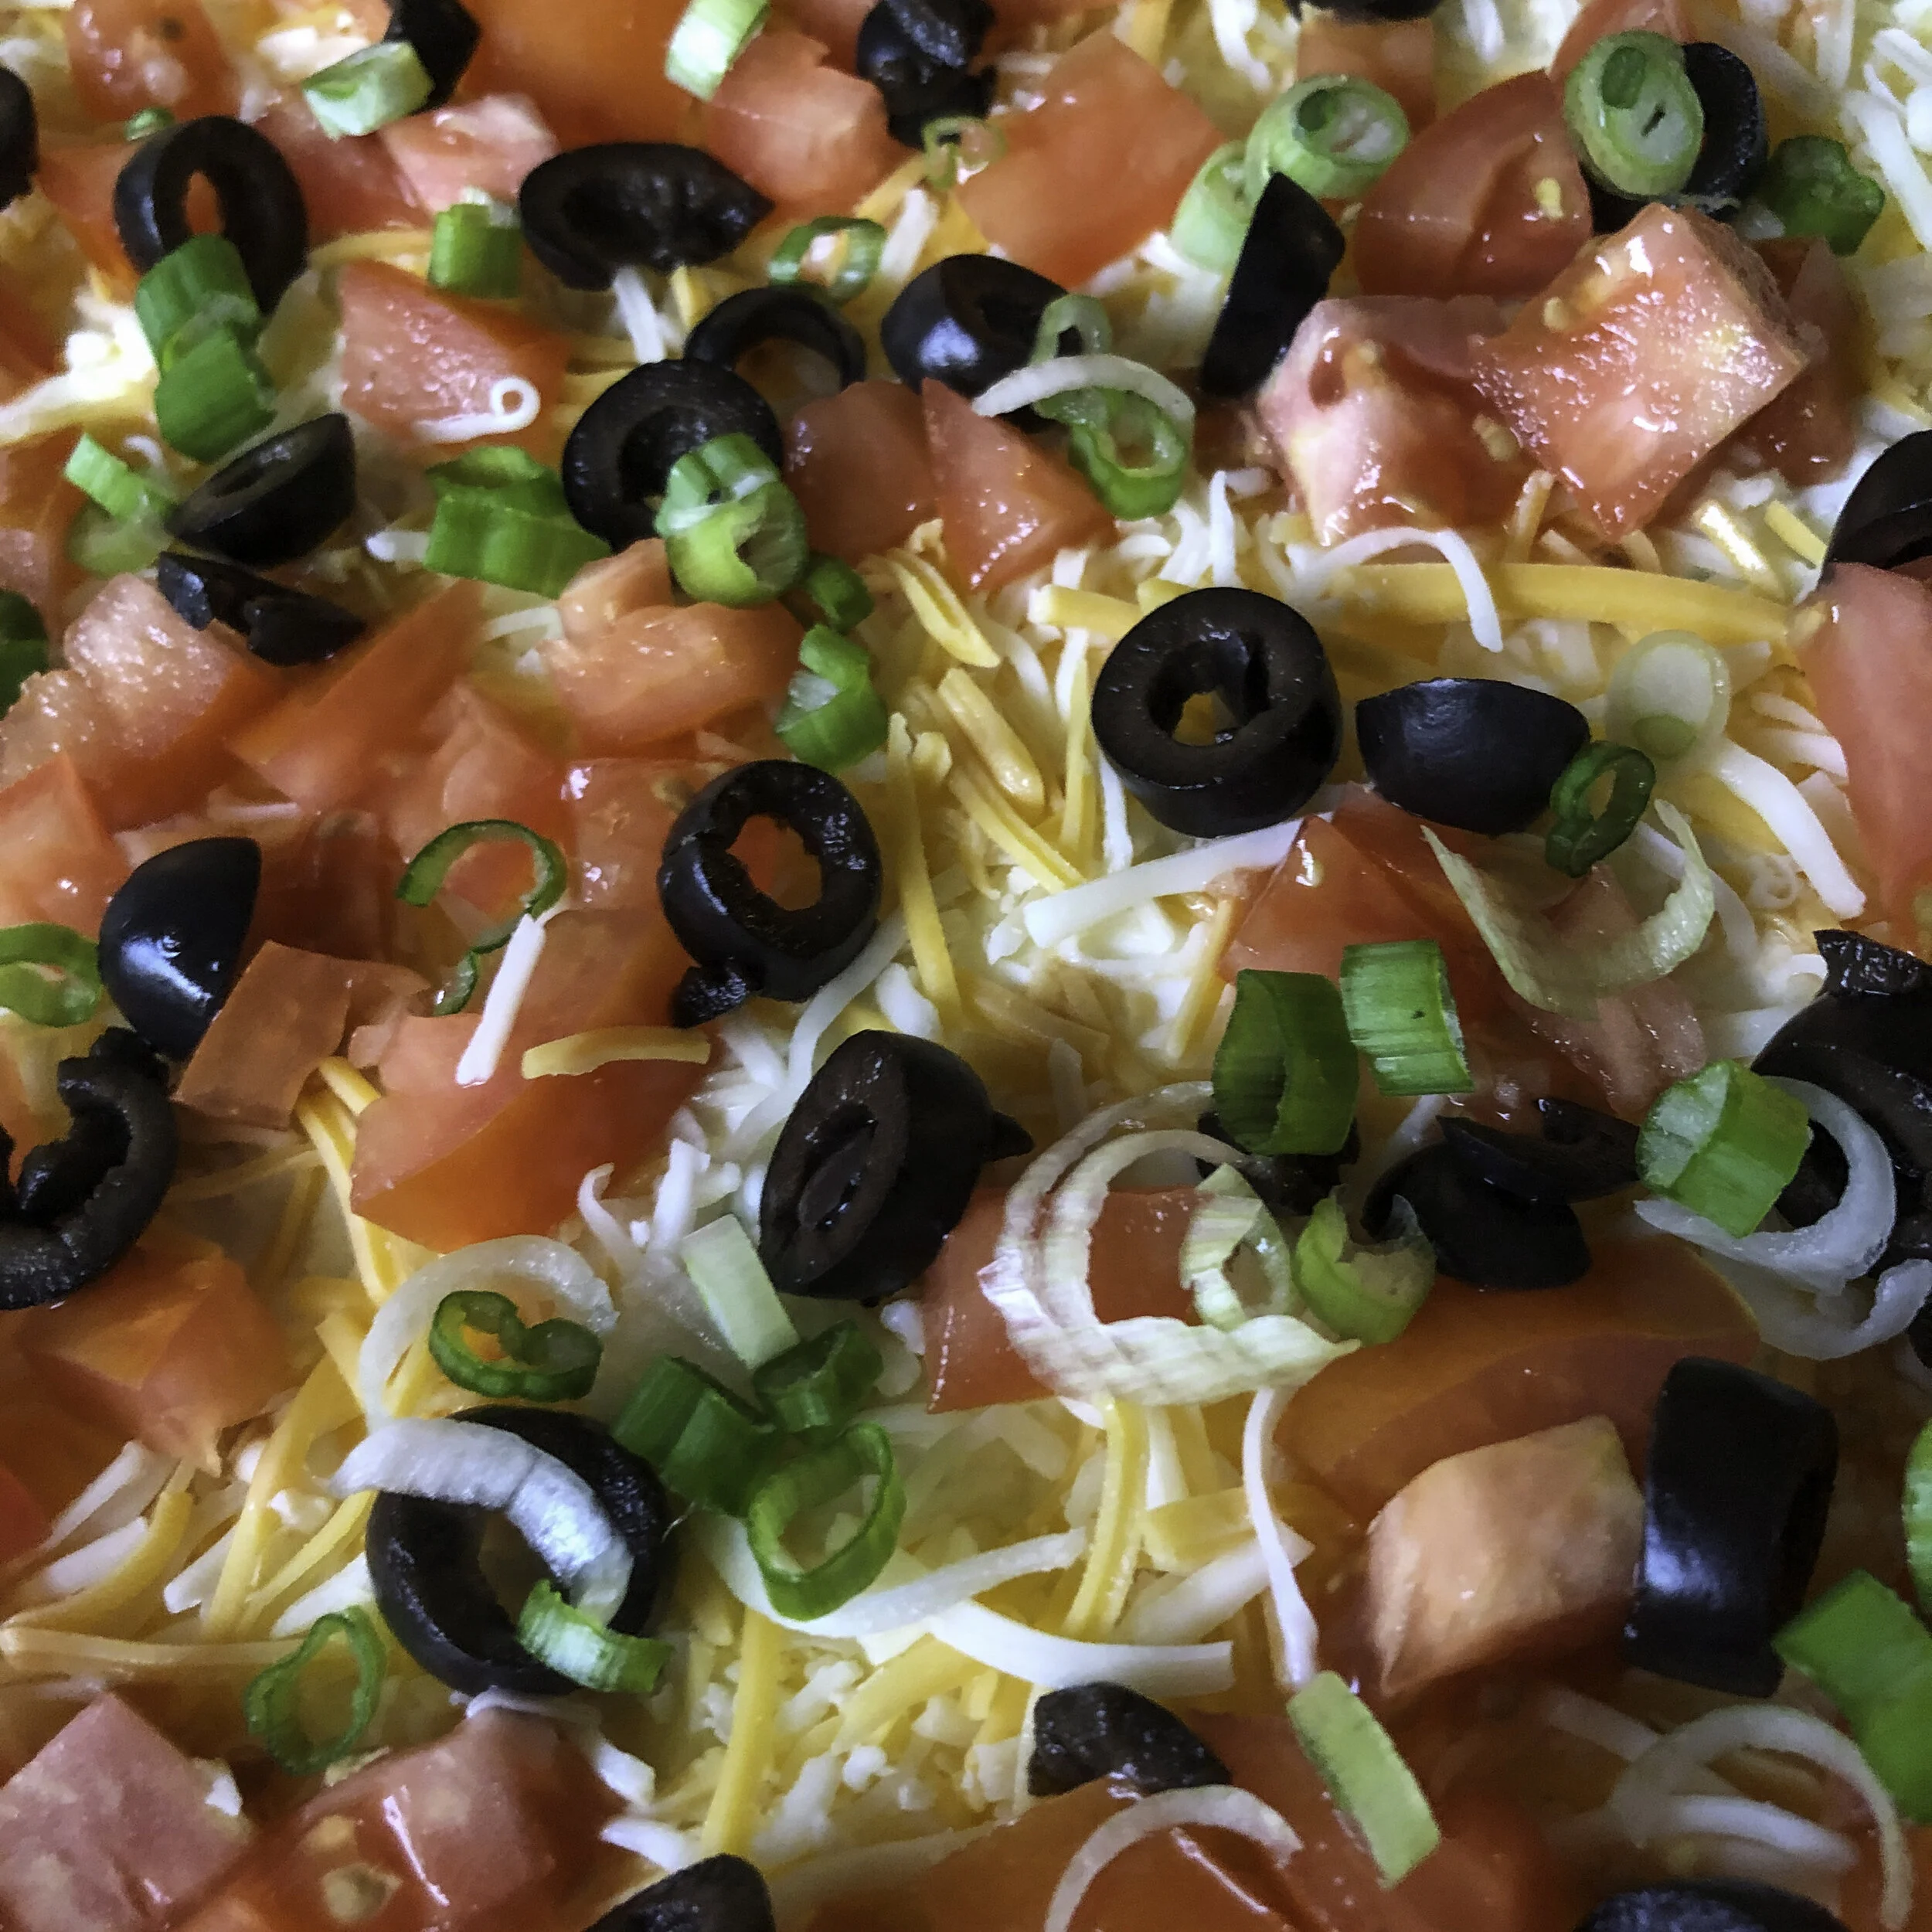
Seven Layer Dip
Seven Layer Dip is a perfect contribution to any party, refrigerates well and doubles as a fairly well-balanced snack or even meal.


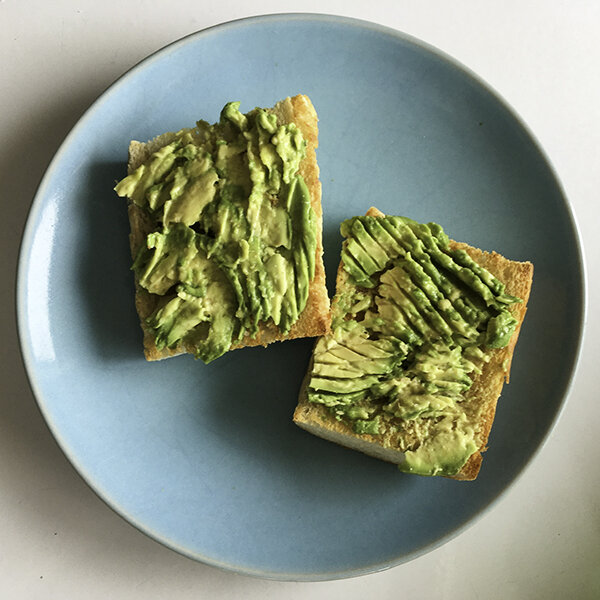
Avocado Smoothie
While roommates in NYC, Chelsea introduced this insanely creamy & delicious smoothie to Brenda.


HOW TO: Cook & Peel Boiled Eggs
Learn how to use a spoon to easily peel soft or hard boiled eggs.


HOW TO: Perfectly Poached Eggs
There are a variety of tips, tricks and suggestions out there to achieve a perfect poach. Ultimately it seems the most valuable insight when poaching eggs is simply to practice.

Corn Tortillas
Learn how to turn masa harina (treated corn flour) into savory, flavorful, homemade corn tortillas.

Instant Pot Boiling Start Yogurt (Thick Yogurt)
Looking to make a thicker homemade yogurt? Try this Boiling Start Yogurt. The extra steps make a thick, delicious, creamy yogurt.

How To: Greek Style Yogurt
How to turn Boiling Start Yogurt into a delicious Greek Yogurt. Brenda say’s it’s the closest thing to Fage Yogurt she’s ever tasted!


HOW TO: Instant Pot Baked Potatoes
Need to make potatoes quickly? Use this Brenda how-to to learn how to cook potatoes in an Instant Pot.