
Rhubarb Angel Dessert
Rhubarb custard perfectly sandwiched between a crisp shortbread crust and soft meringue liberally sprinkled with coconut

Baked Rice Pudding
A perfect way to use up leftover rice - make this custardy rice pudding as a snack or dessert.


Key Lime Pie in a Jar
A refreshing summer dessert you can take with you to go — it’s the perfect dessert for picnics!

3-Ingredient Chocolate Mousse
Chocolate craving? Let us introduce you to something we think you’ll enjoy.

Brenda's Best Chocolate Cake for High Elevation
Brenda’s favorite chocolate cake inspired by a recipe from Barefoot Contessa.

Brenda's Best Chocolate Cake
Brenda’s favorite chocolate cake inspired by a recipe from Barefoot Contessa.

Raspberry Rolls
Watch out cinnamon rolls! These flavorful berry and cream cheese rolls are a summer favorite.


The Very Best Icebox Cake
Known as the BEST icebox cake, and a true Brenda Fan-Favorite, this crowd-pleasing cake will leave everyone wanting more.
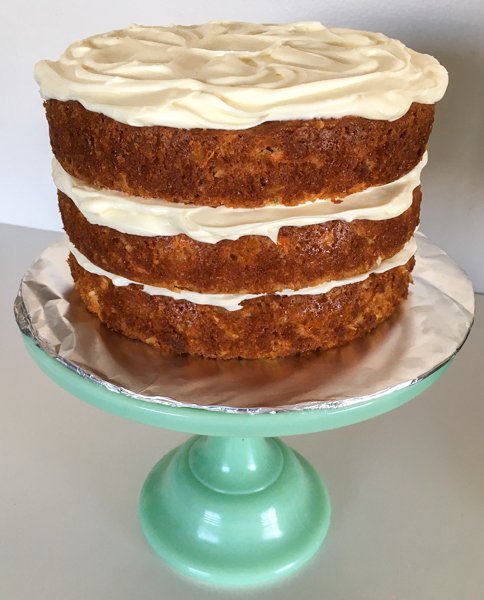
Brenda’s Favorite Carrot Cake
This Carrot Cake includes pineapple, coconut, loads of carrots, and you can optionally add in walnuts or pecans. Brenda recommends frosting this cake with her Cream Cheese Frosting for the ultimate cake experience.

Ma’s Pumpkin Pie
Brenda firmly believes Thanksgiving celebrations need pumpkin pie, and that her mom’s recipe is the best.

Dad's Favorite Cherry Pie
Learn how to make a flaky pie crust (the secret is a heavy whipping cream and sugar topcoat), and how to finger crimp the edges (for that “local bakery” look).

Pumpkin Brownies (or Bread)
Frost with cream cheese frosting to serve as brownies. Add chocolate chips and bake in a bread pan to serve as bread.