
Brenda's Best Chocolate Cake for High Elevation
Brenda’s favorite chocolate cake inspired by a recipe from Barefoot Contessa.

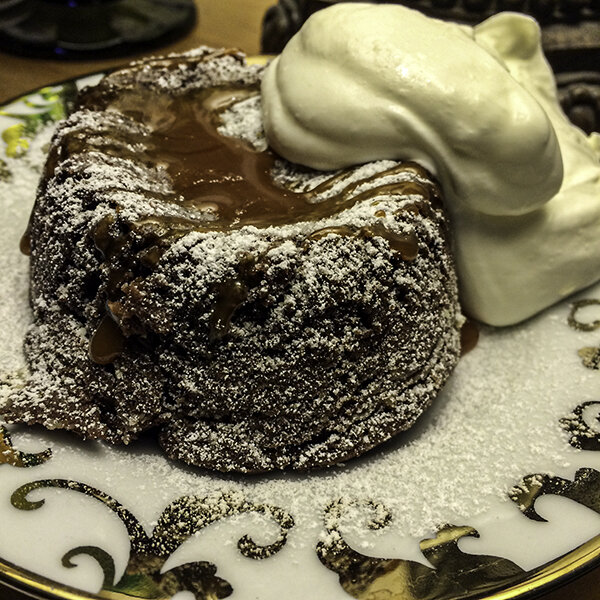
Brenda's Best Chocolate Cake
Brenda’s favorite chocolate cake inspired by a recipe from Barefoot Contessa.


Hummingbird Bundt Cake
Do you have a few extra bananas past their prime? The deep yellow speckled with black dots on a banana peel indicates perfection for this Hummingbird Cake.


Shortbread Cookies
Shortbread cookies are best dipped in chocolate . . . . or caramel . . . . or marshmallow cream . . . . even better, combine all three.

Double Raspberry Pie
It’s difficult to pick a favorite pie, but this Double Raspberry Pie is definitely in the running.


Peach Ice Cream
Take regular no-cook vanilla ice cream or custard and turn it into the ultimate summer treat.

How To: Ice Cream Sandwiches
Learn how to make homemade ice cream sandwiches with a vanilla or chocolate cookie.

Vanilla Ice Cream Sandwich Cookie
Level up your homemade ice cream sandwiches with this tasty cookie recipe.

Custard Ice Cream Base
A standard custard recipe you can add mix-ins to, creating your favorite flavor combinations.

No-Cook Basic Chocolate Ice Cream
Brenda’s favorite no-cook basic chocolate ice cream recipe. Add your favorite mix-ins to customize to your palate!

No-Cook Basic Vanilla Ice Cream
Brenda’s favorite no-cook basic vanilla ice cream recipe. Add your favorite mix-ins to customize to your palate!

Homemade Ice Cream: Methodology
A crash-course in ice cream making that will pay big dividends!


Brownies Swirled with Goodness (aka Cream Cheese Brownies)
Another take on Brenda Brownies—adding cream cheese swirls for extra goodness.

Rice Crispy Treats
The secret to making a bakery-style rice crispy treat? Don't melt ~10% of the miniature marshmallows, but add them to the dry cereal instead.