B's Favorite, Bread, Breakfast, Garden Produce, High Elevation Brenda Drake + Chelsea Kasen 7/4/23 B's Favorite, Bread, Breakfast, Garden Produce, High Elevation Brenda Drake + Chelsea Kasen 7/4/23 Zucchini Muffins A summertime breakfast from gorgeous garden produce Read More Breakfast, Savory, How To, Bacon Brenda Drake + Chelsea Kasen 3/16/21 Breakfast, Savory, How To, Bacon Brenda Drake + Chelsea Kasen 3/16/21 HOW TO: Breakfast Burritos The perfect grab-and-go breakfast with lots of carbs and protein. Read More Bread, Savory, Side Dish, Breakfast, Bacon Brenda Drake + Chelsea Kasen 2/9/21 Bread, Savory, Side Dish, Breakfast, Bacon Brenda Drake + Chelsea Kasen 2/9/21 Avocado Toast Brenda’s fresh French Bread makes this Avocado Toast recipe even better! Read More Breakfast, Bread Brenda Drake + Chelsea Kasen 3/31/20 Breakfast, Bread Brenda Drake + Chelsea Kasen 3/31/20 Popovers Popovers are one of those obscure breakfast delicacies that tend to be overlooked . . . Similar to German Pancakes but cooked in ramekins, making them individual portions. Translation: perfectly crisp and tender. Read More
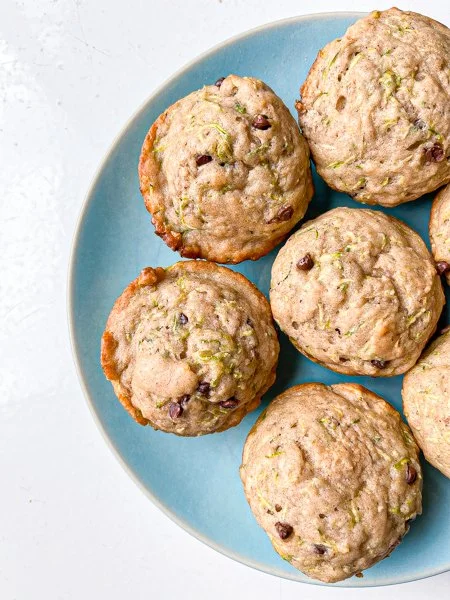
B's Favorite, Bread, Breakfast, Garden Produce, High Elevation Brenda Drake + Chelsea Kasen 7/4/23 B's Favorite, Bread, Breakfast, Garden Produce, High Elevation Brenda Drake + Chelsea Kasen 7/4/23 Zucchini Muffins A summertime breakfast from gorgeous garden produce Read More
Breakfast, Savory, How To, Bacon Brenda Drake + Chelsea Kasen 3/16/21 Breakfast, Savory, How To, Bacon Brenda Drake + Chelsea Kasen 3/16/21 HOW TO: Breakfast Burritos The perfect grab-and-go breakfast with lots of carbs and protein. Read More
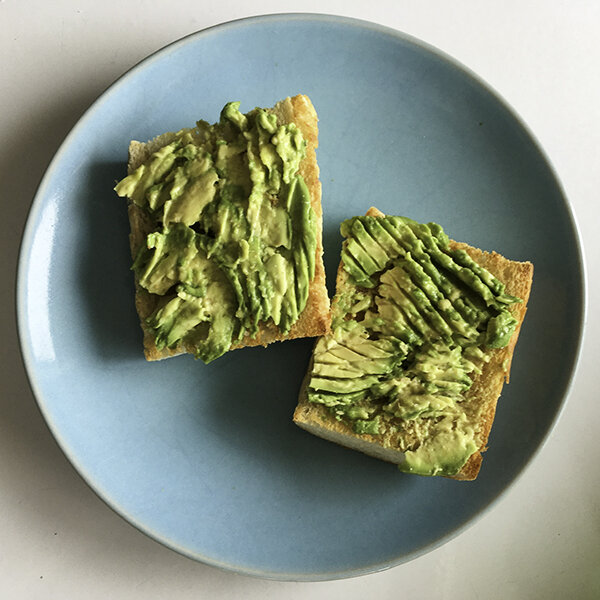
Bread, Savory, Side Dish, Breakfast, Bacon Brenda Drake + Chelsea Kasen 2/9/21 Bread, Savory, Side Dish, Breakfast, Bacon Brenda Drake + Chelsea Kasen 2/9/21 Avocado Toast Brenda’s fresh French Bread makes this Avocado Toast recipe even better! Read More
Breakfast, Bread Brenda Drake + Chelsea Kasen 3/31/20 Breakfast, Bread Brenda Drake + Chelsea Kasen 3/31/20 Popovers Popovers are one of those obscure breakfast delicacies that tend to be overlooked . . . Similar to German Pancakes but cooked in ramekins, making them individual portions. Translation: perfectly crisp and tender. Read More